A tale of two extraordinary lives filled with children, craft and laughter


Tuesday 30 August 2011

Sewn merino handwarmers for adults

So I have this great pair of merino handwarmers…but they cost $55.

I thought that I could easily make them for less than that plus I was thinking of present ideas for my son’s kindergarten teachers when he lefts for school. Perfect I thought…I can combine the two!

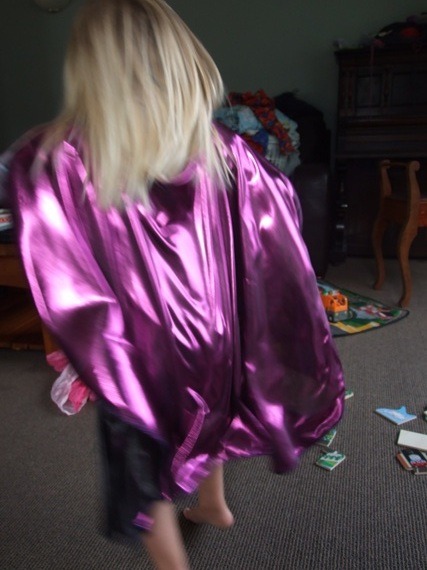
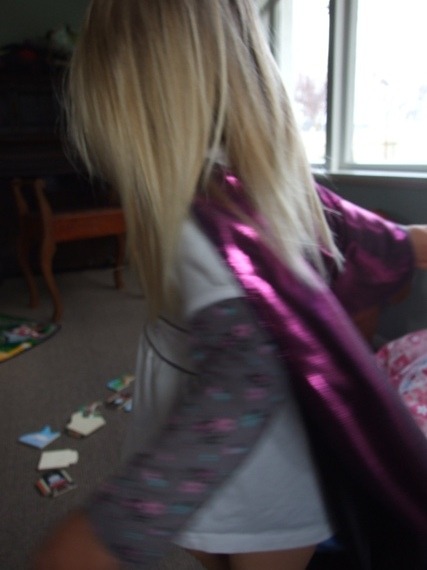
Here’s my first stab, not too bad and I just made them out of an old merino top so if there were mistakes it didn’t matter.


image


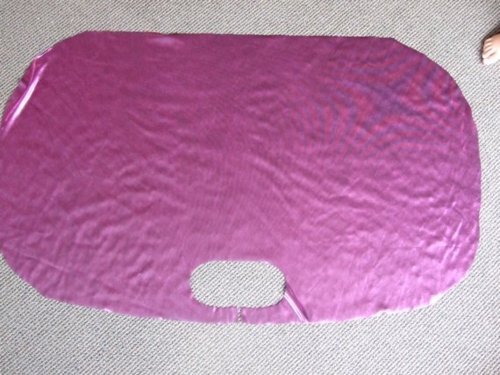
I started off my drafting a pattern from my existing ones and really thinking about how to construct (in terms of what to sew first) plus seam allowances.

I cut out two pieces on the fold
image


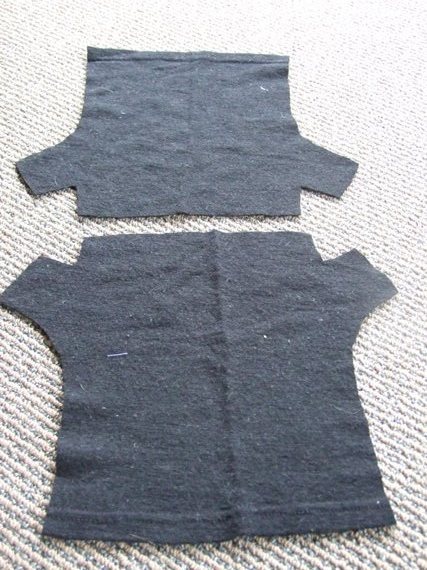
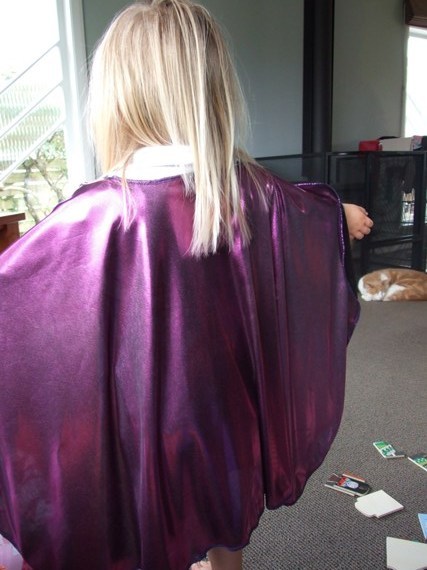
And when put together the shape is looking pretty good


image


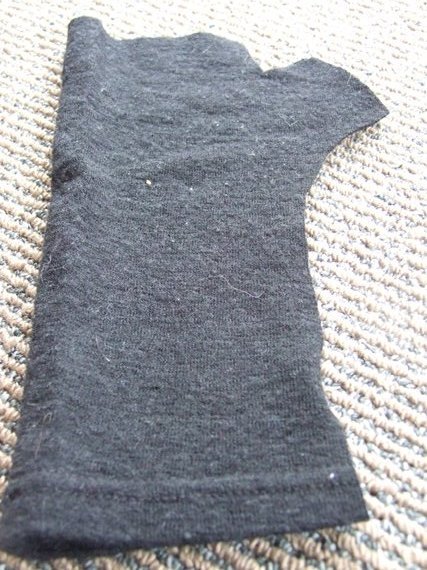
They were easy to whip up. Overlock the straight hems (the bottom, thumb and across the hand) and then with right sides together fold these up 1cm and sew with a straight stitch (remember to use a stretch needle).

Next, straight stitch between the thumb and first finger seam, then overlock pulling the curve straight, then do repeat with the final long seam.  Remember to thread the overlocking threads back through the stitches with a darning needle).

I am pretty happy with the outcome and it will be a great present for many years to come - it's cost effective and relatively easy to sew.

'Til next time, Melissa

Friday 26 August 2011

Inspire Me

Where do you go for your inspiration? In today's world its easy isn't it?? Plenty of awesome blogs to follow, great sites like etsy to buy PDF patterns, fabric shops that stock a great range of crafting ideas. Me, all of the above plus my local library. The kiddies and I rock on down to the library at least once a week, sometimes more often. Our library has a wonderful range of sewing and crafting books on offer. I like to check out the new book display each visit to make sure I reserve any new crafting books that catch my eye. Librarys should not be overlooked as a source of inspiration. In most cases, the library allow you to photocopy up to 5 pages for free.

On a recent visit to the library I found this book:
1-2-3 Sew by Ellen Luckett Baker

I has 33 simple projects that include, bags, accessories, home accents and more. I loved the chapter on organizers. One of which is a little pencil holder. Very cute, very quick project. You could use the little container for anything really. M now has one for her hair ties and comb.. check it out


Another cool gift idea to add to the stash for the cousins for Christmas! Yippee. And it was a free pattern, I used scraps I have in my stash and a funky button that was a gift. Pretty neat eh? A xx

Thursday 25 August 2011

My own little superhero

My son wears his cape all the time and I thought it was time that his little sister had one of her own too!

image

I copied his cape (which is basically a large oval with the space for the neck/head cut out) and made it out of suitable super hero material.

image

Then overlocked around the whole thing (plus added a snap for the neck).

image

And she loves it :)

image

image

image

'Til next time, Melissa

Tuesday 23 August 2011

Favourite Skirt Upcycled

M has a really cute little denim skirt that I got from a good friend. Sadly it was getting indecently short. Still plenty of room width way and tonnes of wear left in skirt....time for some upcyclying!

Recently I was shown this gorgeous fabric with dandelions on it. I have fallen in love with it and like to use it all the time. I only needed about 3 inches across the bolt for this little project.

So, here's what I did...

First I unpicked the hem of the denim skirt. This not only gave me about 3 cm more length but a funky detailing too. Then I pressed it flat.
Next I prepared my fabric. I cut 3 inches lenght across the width of the fabric and used the salvage as my seam allowance (won't fray). I then whipped round top and bottom of my fabric circle on the overlocker top prevent the cotton from fraying.

Next up, I folded up and pressed a 1/2 inch hem.
Then I whipped round that on the machine sewing at 1/2 inch.

Next comes the gathering. I learnt a really neat way to gather from an etsy pattern. You need dental floss (weird I know). You sew with a quite wide zig-zag stitch over top of the dental floss around the top of the fabric circle. I sew the gathering stitch about 1/4 inch. When you have sewn the dental floss zig zag all the way around the top, you gently pull the floss and gather your fabric to the required width. Its quick, easy and no more broken gathering cotton!!

Next I pinned the gathered fabric to my denim, right sides together and sewed a 1/2 inch seam with the gathering facing up so I would keep an eye on it and even it out if it bunched up.

I pressed the seam and wa-la!
And would you believe - all of this before 8am on a Kindy day. Thanks to both the children waking early today and breakfast over and lunches packed before 7.30, I decided to make the most of the half hour and make this for M to wear today. She was very happy with her new skirt, teamed it up with orange and pink and later, her red boots.

(note: my photography is not normally this bad! m is in the habit of lurching forward to look at the photo before I have managed to take it!)

So, an old fav now a new fav. Pretty neat eh? A x

Sunday 21 August 2011

Amy Butler Anyone?

So, Amy Butler is one of my favourite, scratch that, IS my favourite designer. She designs fabric and patterns for a whole range of things. Bags, clothing, cushions, quilts to name a few. Over the past couple of years I have collected a few of her books and have half a dozen or so patterns. All of which I love and freqently get great compliments on. Many have been made into gifts for friends and family also.

One of my recent addtions is her book STYLE STITCHES.
This book is full of wonderful bags made with incredible fabrics. I used two of the patterns now. The Teardrop bag and the Origami Bag Set. I am really excited to make the bag featured on the front for a friend with the wicked vintage material she has found which will, no doubt, be perfect!

I love the way that Amy Bulter writes clear, detailed instructions that often have diagrams to allow you to see exactly what to do. You can't go wrong really.

Last night, I had got in a couple of hours sewing. I made 3 of the origami bags.

There are 6 sizes in all, ranging from a small pencil case size (as pictured) to x-large.
This is the smallest size - perfect for crochet hook and scissors!

The green one is the 3rd size. Same shape, just a little bigger!

I am in love with these bags and think they make a wonderful gift. I also think I need the whole set!!!!!

I think they are pretty neat! Axx

Wednesday 17 August 2011

Re-molding crayons...messy but fun!

I have seen this idea on a few sites, but followed the guidance on Kinderpendant.  The state of our crayon box has long been a source of irritation for me so today (after the third day of being housebound) I decided to give it a go.


Tip - put some newspaper down on your bench if you don't want a mess (easy to clean up though, scrapes off)


Another tip - when children say they will be careful when carrying...don't believe them!


Don't they look good enough to eat!


'Til next time, Melissa


Tuesday 16 August 2011

Chilly mornings…it’s time for handwarmers

Amber’s son put a special request in for some handwarmers…it’s pretty chilly on the walk to kindergarten.


I took the pattern from Easy Kids Handwarmers (which is a size 1-5) and adapted it. I simply cast on an additional 4 stitches and doubled the middle stocking stitch section…they fit perfectly :)


Monday 15 August 2011

Pretty Neat Bunting

I have a little friend in the neighbourhood who is having a birthday so this called for a little pressie. I was keen to make some bunting but wanted to use some fo the fabric in my stash up too. I visited Yvonne at Sawmillers Quilt Shop and fell in love with her Riley Blake pinks. Yvonne encouraged me to make my own bunting out of one of my fabrics which was easy and fun and way cheaper than buying bias tape. My triangles are two pieces of fabric sewn together, turned and pressed. Pretty neat eh? A xx