A tale of two extraordinary lives filled with children, craft and laughter


Monday 26 September 2011

Book Bag

Oscar's friend has a birthday coming up and it's the big 5 which means starting school.  He loves Cars so I thought I would make him a book bag.

I found some Cars curtain fabric at Spotlight which I thought would be a nice sturdy fabric to use.

I folded over the fabric to make a rectangle about 40cm x 35cm.


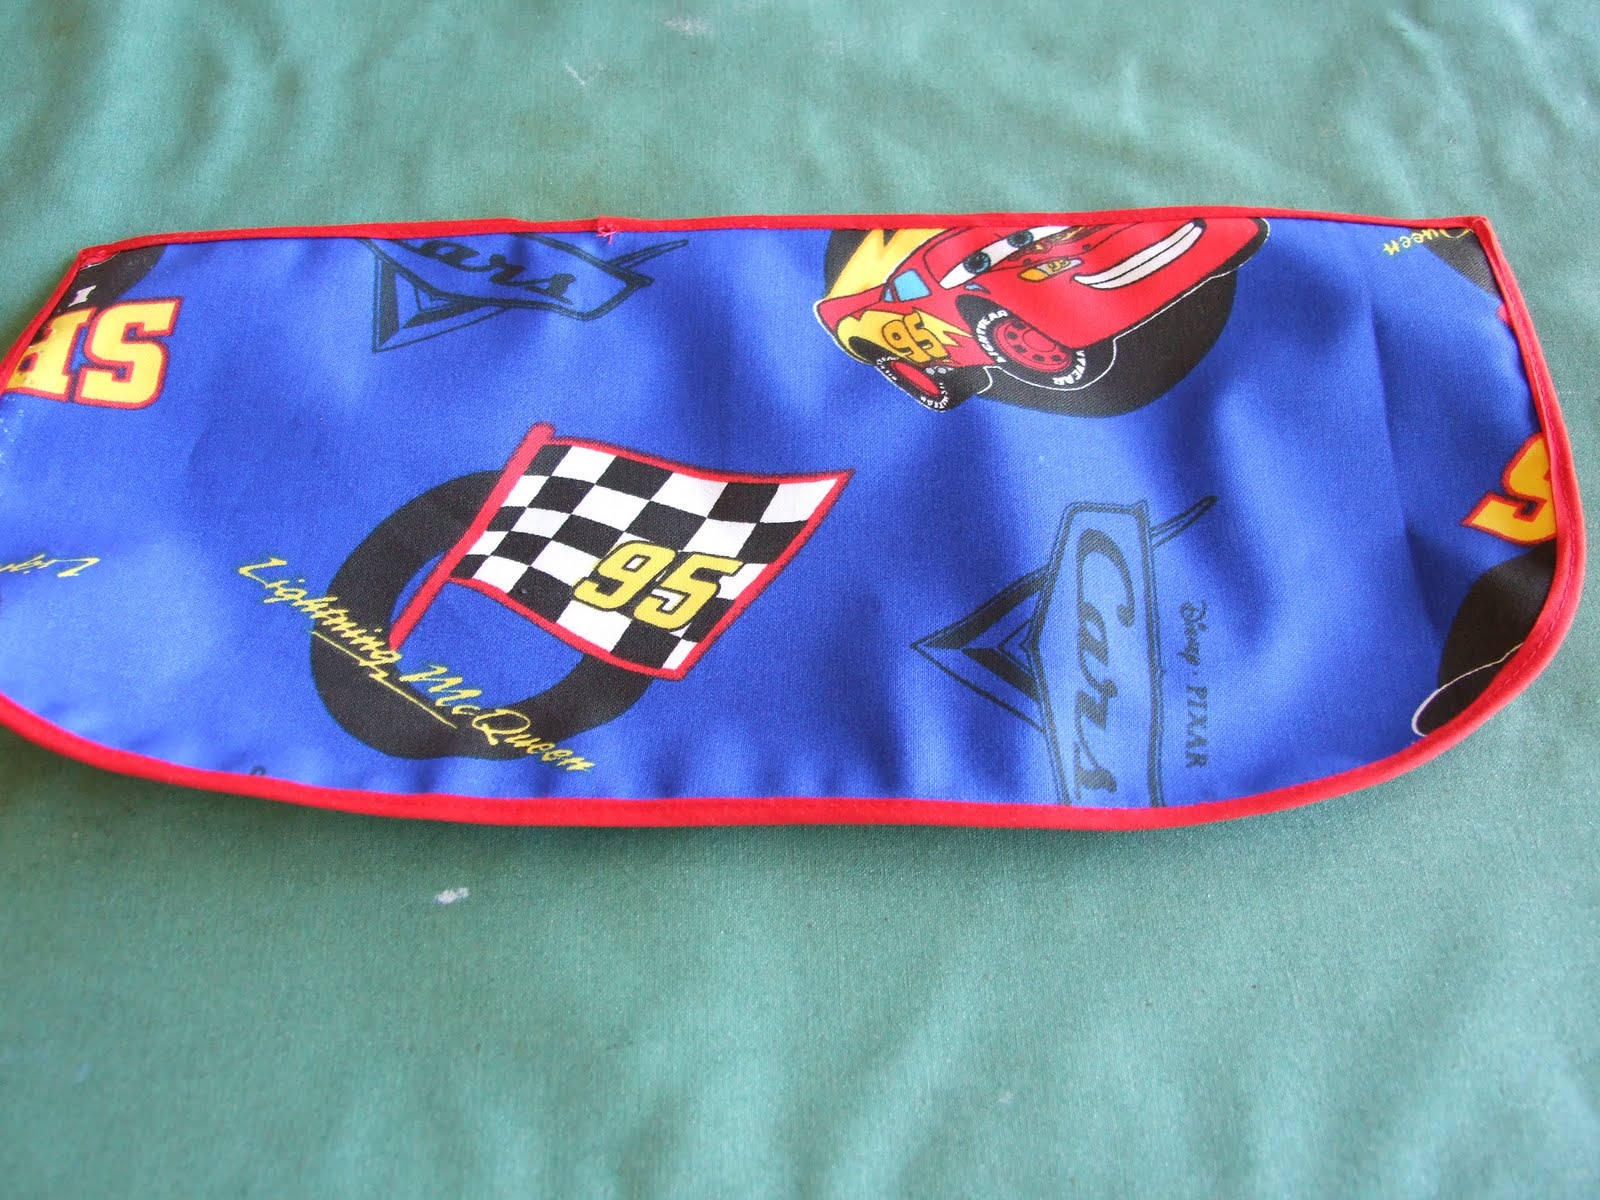
Then cut a flat - doubled over, same width as bag with slightly curved corners.


Turn it wrong sides together and bind the whole flap.  Here's a good tutorial on binding.


I wanted to add a wee pocket for his library card.  Cut a piece of plastic (like what duvets come in) approx 4"x3".  I started to bind this but it was way too hard/fiddly so cheated.  I sewed across the top first and inserted the plastic into one folded edge.  I did a large zig zag stitch.


The other three sides need to be sewn onto the bag.  I turned over the edge of the binding, inserted the plastic into a fold and sewed down one side.  Cut, then repeated the process for the other two sides.


Next fold down and sew the two top edges where it opens (seperately)


Next I bound the two long and bottom edge sides.


Pin your flap where you want it to go (remember to pin to the back piece)


And sew


Attach a snap (or velcro) and you are down


Until next time, Melissa

Thursday 22 September 2011

Kids belt from scraps

If you have lots of scraps lying around, plus a child to sew for this is a quick and easy project.  This is not a new idea, but after having tried a few different tutorials I made my own as I found the others too complicated!


Firstly, cut out a whole heap of 3" wide pieces from your fabric.  You can make them any length you choose.

Then sew them together into a strip, using a 1/4" seam and right sides together however long you need to fit round the waist and some overhang


Iron open all the seams


Fold the long sides together and iron a middle crease


Cut 1" wide interfacing and iron on one side of the crease


Fold and iron the material in (along the edge of the interfacing so cut it very straight!)


Repeat the other side.  Make sure you fold in one edge to finish one end of the belt.

Then iron together


Sew 1/8" seams from the outside edges


Get your 25m d rings


And thread through the raw end


Fold the raw end under and then fold it over


Sew a 'box' shape to make it secure


And you are done!


You could make this out of one fabric, or increase the width and lenth to make for an adult.

Till next time, Melissa

Sunday 18 September 2011

Guest post from our pretty neat friend, Lisa

Can you tell I’m nervous?? First blog post from me, very exciting!
I recently made a pair of pajama pants for my little bird and I was amazed how easy it was. I used a pattern from etsy called easy-fit pants for girls and boys from size 2 to 10, and it also has a bonus dolls pants pattern, cute!


The pattern was easy to cut out and fit together, and there is only 1 pattern piece for front and back so there wasn’t too much sewing involved either. And they look great! I made PJ pants using brushed cotton, but you could make summer shorts using cotton, or winter jeans using denim. The instructions are very detailed with lots of photos, I made a pair of shorts for a present the next week and I only had to check them briefly. The sizing seems true, and there are good charts for finding the right length if you can’t measure the child you’re making them for.
If you are after a pattern for easy kid’s pants, I would give this one top marks for style and ease of use!


Thanks Lisa!  And Z makes a goregous wee model :)

Saturday 17 September 2011

UFO's (Un-Finished Objects) EVERYWHERE

I have a sewing table covered in half finished projects and today I was determined to get at least 3 of them finished. There are more in my crochet bag but that is for another weekend.

So... today's tasks... Several weeks ago I cut out and overlocked the pieces for a gorgeous green skirt for Macie's summer wardrobe. This skirt is from a pattern I purchased of ETSY called the Twirl Skirt from La-Tee-Da- Kids. All I had to do today was gather the three pieces, sew them together, hem and put in elastic. Tick, skirt finished.

The second job was to complete the butterfly wings I cut out and preparted at craft group a week ago.(Tutorial on this in the making). I made a mad dash to Thimbles and Threads to get some more 'steam-a-seam' to fuse the coloured pieces to my black wings. That allowed me to play around with the 'design' of the wings a bit more. Happy with the layout of my wings, I ironed them on and then edge stitched to secure. I am told that steam a seam is quite reliable and sticks quite well but I was keen to make sure that with a 2 year old wearing the wings they weren't going to fall apart during a very important first wearing. Tick, butterfly wings finished.

Third job, easy peasy. The butterfly dress had been delivered back after being snapped at Melissa's house. All that was needed was a quick try on and a hem length decided. That is now hemmed and ready to wear too. Tick, dress finished.


Boy Macie is a lucky girl. 3 projects all for her .... pity she still has 3 weeks to wait to wear them as they are all for her birthday!!

Have you got any pressing UFO's on your sewing table or in a cupboard waiting for a few hours of your time to finish them off.... Perhaps put aside a day, an hour, an evening to get them out and dust them off. It is very satisfying completing a project. Hehe, now that there is a significant gap on my sewing table I must fill it up with more UFO's! Happy sewing everyone. A xx

Friday 16 September 2011

Baby/doll front pack and book review

Thea's best friend has a birthday soon and I spied this gorgeous baby/doll front pack in the Oliver + S Little Things To Sew book...immediatey I knew I wanted to make this for both girls.


The front pack was really easy to sew and the instructions were straight forward to follow.  I used fabric from my stash and left off the pocket on the front as I wanted to be able to see the flamingo head.


The front pack also grows with the child which is great.  I think Macie and Thea will love wearing their babies!


Other things I like in the Oliver + S Little Things to Sew?


This puppet theatre that is hung between a doorway


This little cape...how gorgeous!


This wee dolls dress (matches one of their girls patterns)


This bento lunchbox - cool idea

This kids-sized satchel.

Oliver + S has a real vintage feel to their patterns which I love - soon I will be making Oscar a top and pants from one of their patterns. 

Till next time...Melissa

Playdough!

Thea LOVES playdough...it can keep her amused for hours.  I have tried many recipes over the years but this one is my favourite.  I love the intense colour, it stays soft and it lasts for ages.

1 cup flour
1/2 cup salt
2 Tablespoon oil
2 teaspoon cream of tartar
1 cup water
food colouring

Heat oil in a saucepan.

Mix food colouring in the water until you like the colour.  Put everything together in the pot and cook over a low-med heat for 3-4 minutes stirring constantly.

It will start to come away from the pot.


Take off heat and knead until it cools down.


And enjoy!  Store in an air tight container.

Saturday 10 September 2011

Summer Wardrobe Series Part I

Over the past several months I have been tagging some ideas for M's summer wardrobe off the crafty blogs I read. Two that I have been looking forward to making are the snap wrap dress found at:  http://www.prudentbaby.com/2010/09/snap-wrap-dress.html
and the heirloom skirt found at:
http://www.dana-made-it.com/2011/08/tutorial-heirloom-skirt-with-pockets.html

I had purchased the same butterfly fabric as Melissa last year and was just waiting for the perfect project to use it for. The snap wrap dress was it. I still need to hem it when M gets up tomorrow and then it will be off to Melissa's to snap! Here it is so far.
The material is a very thin cotton so will be lovely and floaty. I added top stitching to the bodice. I think top stitching adds a nicely finished look. I love the full look that using the whole width of the fabric gives.
The Heirloom skirt was so so cute. It is a quick and easy skirt to cut out and sew. Only a couple of seams, bit of elastic and a hem and its ready to wear. I love that you don't have a pattern to cut around, just a waist meansurement to take and the desired length to work out.

I really liked the contrasting pocket. I found in my scraps the ends of a pair of jeans that I had hemmed for myself a while back (always keep these as they often come in handy). So I used the denim for pockets.

 All that is left is to find a couple of funky buttons to put on the pockets. M has already worn both today. The top skirt was worn in the garden so now needs a wash. She helped my sew the black one and chose the cat fabric for the trim. Its called her cat skirt. The black fabric is quite thin, its the lining from an old dress of mine. I figured its a summer dress, light and cool and its better than the fabric going to waste.
These skirts are quite full. The pattern suggests to double the waist measurement to get a full looking skirt. It also recommends a 1.5x the waist measurement for a not so full skirt.

Not bad effort for an afternoon of sewing. This summer wardrobe is all about upcycling. Looking forward to sharing the next creations. A xx

Thursday 8 September 2011

Toddler backpack and book review

A few months ago, hubby and I escaped to Melbourne for a few nights with no kids and I picked up 'U Sew, Girl' by Nicole Mallalieu.


This is my favourite kind of craft book - gorgeous to look at and filled with lots of interesting projects that will suit everyone in your family.  There are accessories or both adults and kids, lots of bags and purses and also a decent section on pattern free clothes (gotta love that!).

I decided to make the Preschool Backpack for my neice's third birthday.


 It was tricky and tested my patience and I had to do lots of techniques I have never done before which was good like make and sew bias binding.  Another great feature of this book is the techniques section at the beginning which was a great reference point for making the bag.

I did make mistakes


(can you spot the owls are all upside down...eeek!)


But I love the fabric and the way it all came together.  My daughter asked me very nicely (in the way two-year olds do) if I could make her one....little does she know I have babushka fabric all ready for her backpack for her birthday.

There's some other projects I want to tackle in the book:


This Panel Skirt


This Toiletry Bag

Until next time, Melissa