A tale of two extraordinary lives filled with children, craft and laughter


Sunday, 10 March 2013

Tutorial: Draw string bag

My mum asked for a draw string bag to store some of her larger necklaces in.  These bags are incredibly useful for lots of treasures, and can be made any size you want.

So first of all work out the size of your bag and cut two rectangles from your lining fabric.  Next select your main and contrasting fabric and cut to fit the lining rectangle.


Sew (right sides together) your main/contrasting and iron the seams down.  This should be the same size as your lining rectangle.


I like to curve the corners using a glass to give a nice curve, then cut along line.


Repeat on all pieces (or like me do all four at once)


Iron down the top edges of your two main pieces and your two lining pieces around 1/2" (to the wrong sides).    Make a mark 1/4" and 1" down from the top on all pieces.  Place lining right sides together and sew all the way around (1/4") stopping between the marks.  Repeat with the main fabric panel.


Turn your lining piece right side out and mark 1" down and draw a line across.


Next, turn main bag right way out, and lining bag inside out and slip lining bag into main bag (so wrong sides are together)


Pin well and line up top edge then sew all the way around the top with a 1/4" seam.


Next turn bag inside out so lining on outside and sew around your 1" mark.


Turn right way out again and you can see if you have casing line for your ribbon.


Thread through some thin ribbon, pull tight and you are done! 


Until next time, Melissa

Saturday, 2 March 2013

Second book project - You Sew Girl

Last month I featured a pattern from Liesl Gibbons, this month it's one from Australian designer Nicole Mallalieu's book - You Sew Girl.

I have made one of Nicole's projects before, the cute backpack which turned out great.  For this project, I was attempting her Wrap Skirt.


Hmm so where do I start?

I struggled with following the instructions - it's based on a circle skirt and right from the beginning I didn't cut enough material.  So I had to improvise and I ended up just doing my own thing.  Added on an extra panel, did snaps instead of ties etc.  But it turned out ok :)


Until next time, Melissa

Wednesday, 6 February 2013

Cushions

In my post about what I wanted to make this year, I can now tick off cushions for the lounge!  I have lots of scraps of Amy Butlers Morning Glory left over from my quilt/pouff so I created a quilted cushion cover with an envelope back:


I also made more simple ones, again with an envelope back:


Here's how I made the quilted cushion.

I worked out the size of my squares (ie 4") and worked backwards from there cutting each strip different widths but when sewn together equaled 4" by 4".


Once the nine squares are sewn together and squared off, I cut strips of white cotton 2" by 4" and stitched between each block.


Then once the row was done, cut a long strip 2" wide and sewed by row onto this


Then do two long 2" strips down the side (once you cut the ends past the top to 2" as well)


Next iron on fusible webbing and quilt.  I did 1/4" vertical lines.


 Next move onto the back.   You need two pieces of fabric, the same width as your top piece, and approx half of the length, plus add on a few inches (so it will overlap)

Iron the long edges under twice, and stitch.


 Then lay right sides together, pin all around and sew.  I reinforced where they overlapped by back stitching a few times back and forth.


Turn inside out and you are done!


I am not just waiting to find a cushion to put in it!


Until next time, Melissa

First major project for 2013

In this post, I talked about what I wanted to make in 2013.  One of my goals was to make something from each of my craft books - for January I choose Oliver and S - Little things to Sew.  I have made things from this book before, but this time I tackled the red riding hood cape.


I made it out of recycled blanket on the outside, and a cotton on the inside.  I wouldn't do it again - very thick to to sew, and very heavy to wear!


It's too big for her now, but the size goes from 5-10, so a few years of wear left!

Till next time, Melissa

Thursday, 17 January 2013

Some Summer's Sewing By AMBER

I have been busy like Melissa getting Christmas presents sewn and have been enjoying the no-pressure sewing since Christmas too!

I made two quilts for my in-laws for their Christmas presents. Both were planned well in advance of spring but I didn't start either until about October...one was sewn completely on the day before Christmas Eve. Needless to say, that was given as a quilt top with an IOU. Its all ready for quilting now though..

Here is a peak at recent projects...
 A 2nd Schoolhouse Tunic for myself.. this one a little more adventurous with the print.. getting used to having so much pattern going on. I love wearing these tops. Not only are they super simple to make, when made from lightweight cotton they are very light to wear and look great over jeans. Easy to dress up or down too.
Cabbage Patch Clothes for our latest 'family member' CHARLI. Macie got Charli for Christmas...who had one of these?! Unfortunately they are not as big as the original ones, slightly smaller and not so well made we have discovered. Lucky for us, Grandma is a dab hand at repairs in the form of french knots to secure wrist, knees and bottoms. Despite their shortfalls, Macie and Maddie's cabbage patch are officially the best dressed though with their new digs. I have used the original cabbage patch patterns that my mum had used to make clothes for my very own cabbage patch back in the 80's, just with slight adjustments to size. Of course, a simple elastic waist skirt to match Charli's own top was super simple... its hiding in the photo underneath the pink pinafore.
My other sewing crafts for Christmas included several pencil cases for special little girls, a card holder for a special friend of Cullen's and the cutest wee pincushions that I found on pinterest... Total bummer for me was that I misplaced my camera for most of December so have only a few pics... the others have already been gifted!!
 I found the pin cushion tutorial here. It is easy, fun and takes about 4 minutes tops when you have all the materials ready to go. A girl cannot have too many pin cushions!
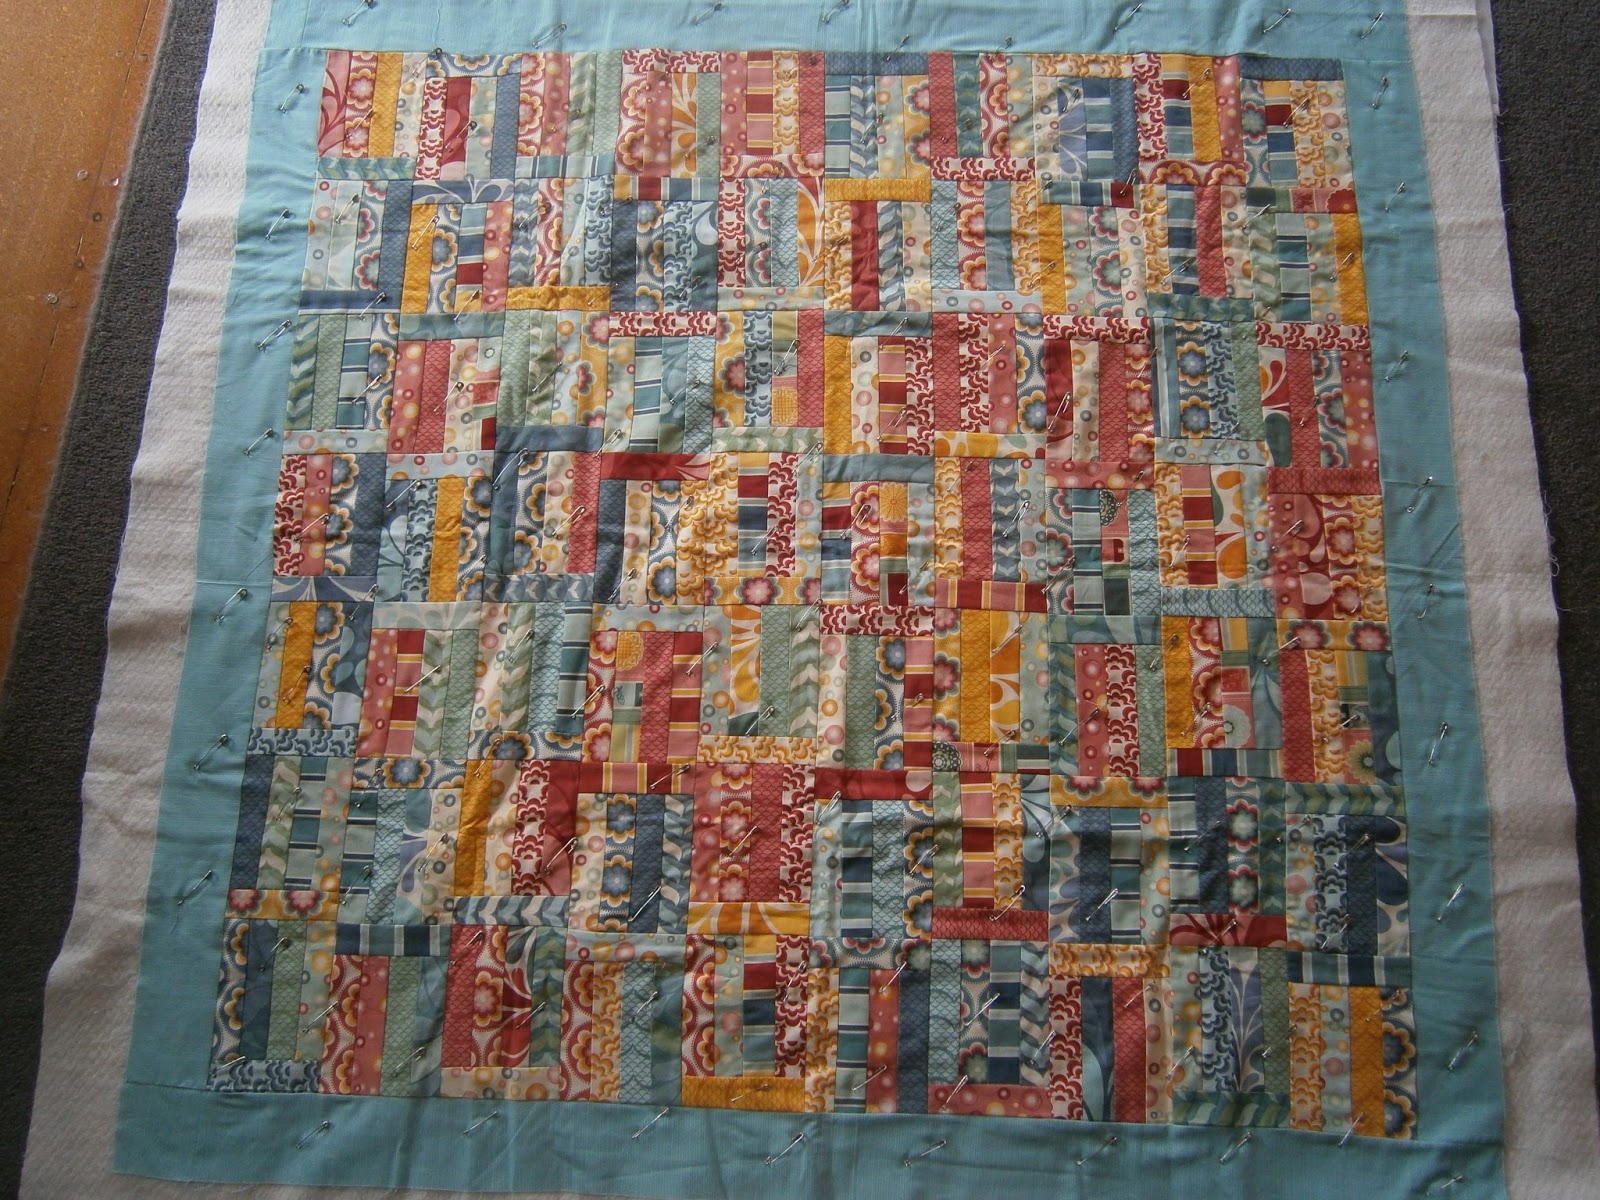
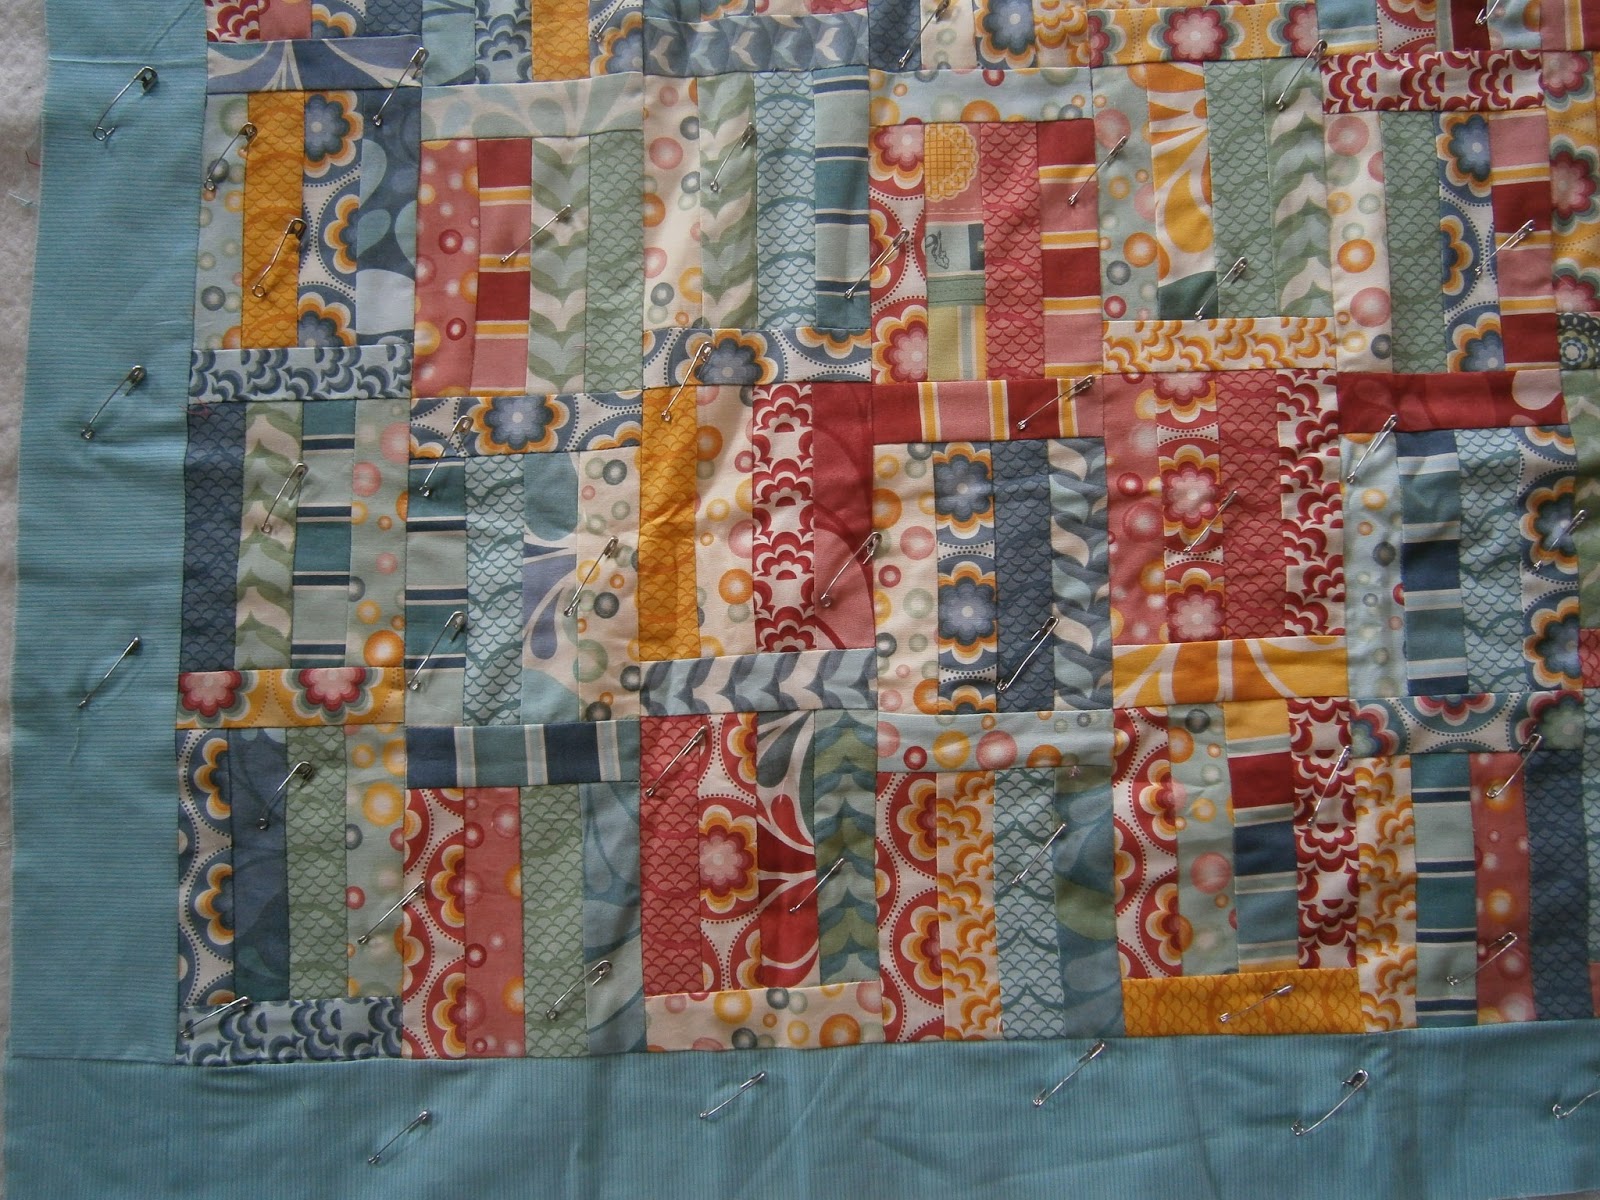
 This is a picture of my the finished quilt top for my Mother-in-law Carol. I used charm packs from California Girl by Moda to make this quilt. The pattern was found in a quilting book of my Mum's and is a great random way to quilt. 

I hope that you have had a relaxing and fun filled break too. Happy crafting in 2013! A x

Thursday, 10 January 2013

Christmas Crafts

 I like to make my presents at Christmas but this year it kinda got away on me so I don't have many to show.


A really easy skirt from made


A sweet little dress from Leila and Ben


Coin Purses filled with goodies


Amy Butler Origami Bags from her book Style Stictches


A twist necklace


Pirate shorts, paired with tshirt


Xmas ornaments 


Mini Christmas cakes (with Brandy butter cream icing - yum!) as teacher presents


I am already thinking about this year's presents!

'Till next time
Melissa


Sunday, 9 December 2012

What I am going to make in 2013

So another year draws to a close - I have finished my Christmas craft (photos after Christmas) and while I haven't made as much as last year, I am still happy.

I have started thinking about next year and projects I have had rattling round in my mind.  I thought I would document here so I HAVE to finish them!

So, here's the list of what I want to make next year...


  • Slouch crochet hat
  • Crochet infinity scarf/cowl
  • Kingsize quilt (using 5" charm packs)
  • Cushions for our lounge (different shapes/sizes plus using some scraps & quilting)
  • Crochet granny square blanket
  • Miz Mozelle dress
  • Washi dress
  • Knitted legwarmers for Thea's ballet class
  • Make a project from each of my craft books
  • A Christmas setting ie bunting, utensil stockings, table cloth etc
  • New stockings for the kids
Whew!

That's quite a list - better get started :)

Till next time, Melissa